Etsy: Create and Sync New Products
How to Create and Sync New Etsy Products
Learn how to use the Live Ink Product Creator to sync your designs with your Etsy store.
Once you’ve integrated our fulfillment app, you can easily sync your products. This guide covers both scenarios:
-
Creating new listings from scratch. Read guide below.
-
Syncing existing listings already in your Etsy store: Click here for guide to syncing exisiting products
Pre-Step: The Golden Rule
If you plan to use custom neck labels, set these up in your Brand Profile before creating products. This ensures the labels are available to assign during the setup process.
Step 1: Select Your Product
-
Log in to the Live Ink app via your Etsy Shop Manager.
-
Click the Create Products button.
-
Browse the catalog and select your base garment (e.g., Stanley Stella Creator 2.0).
-
Tip: Use the "Suggested Products" category if you're unsure which item to pick.
-

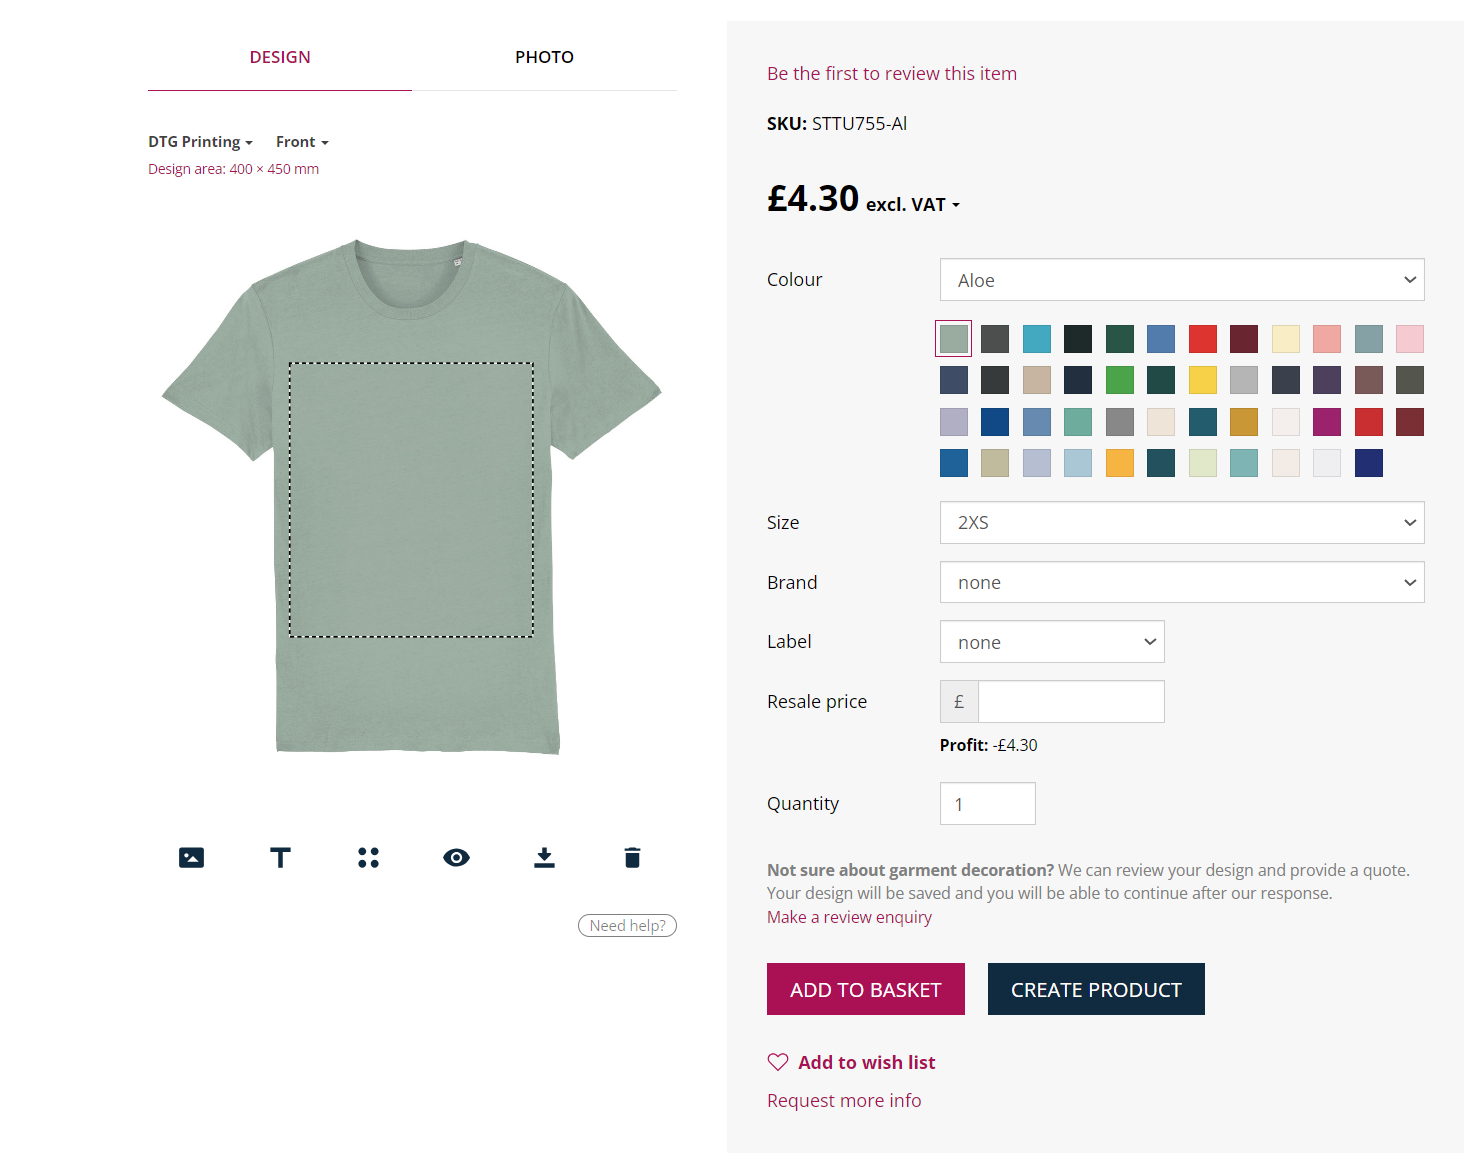
Step 2: Upload & Position Your Design
-
On the product details page, click the Upload icon (first icon on the left under the garment).
-
Select your print file (ensure it is 300dpi for best quality).
-
Adjust the Mock-up: Drag, resize, or delete the image using the control panel until it is positioned exactly where you want it.
-
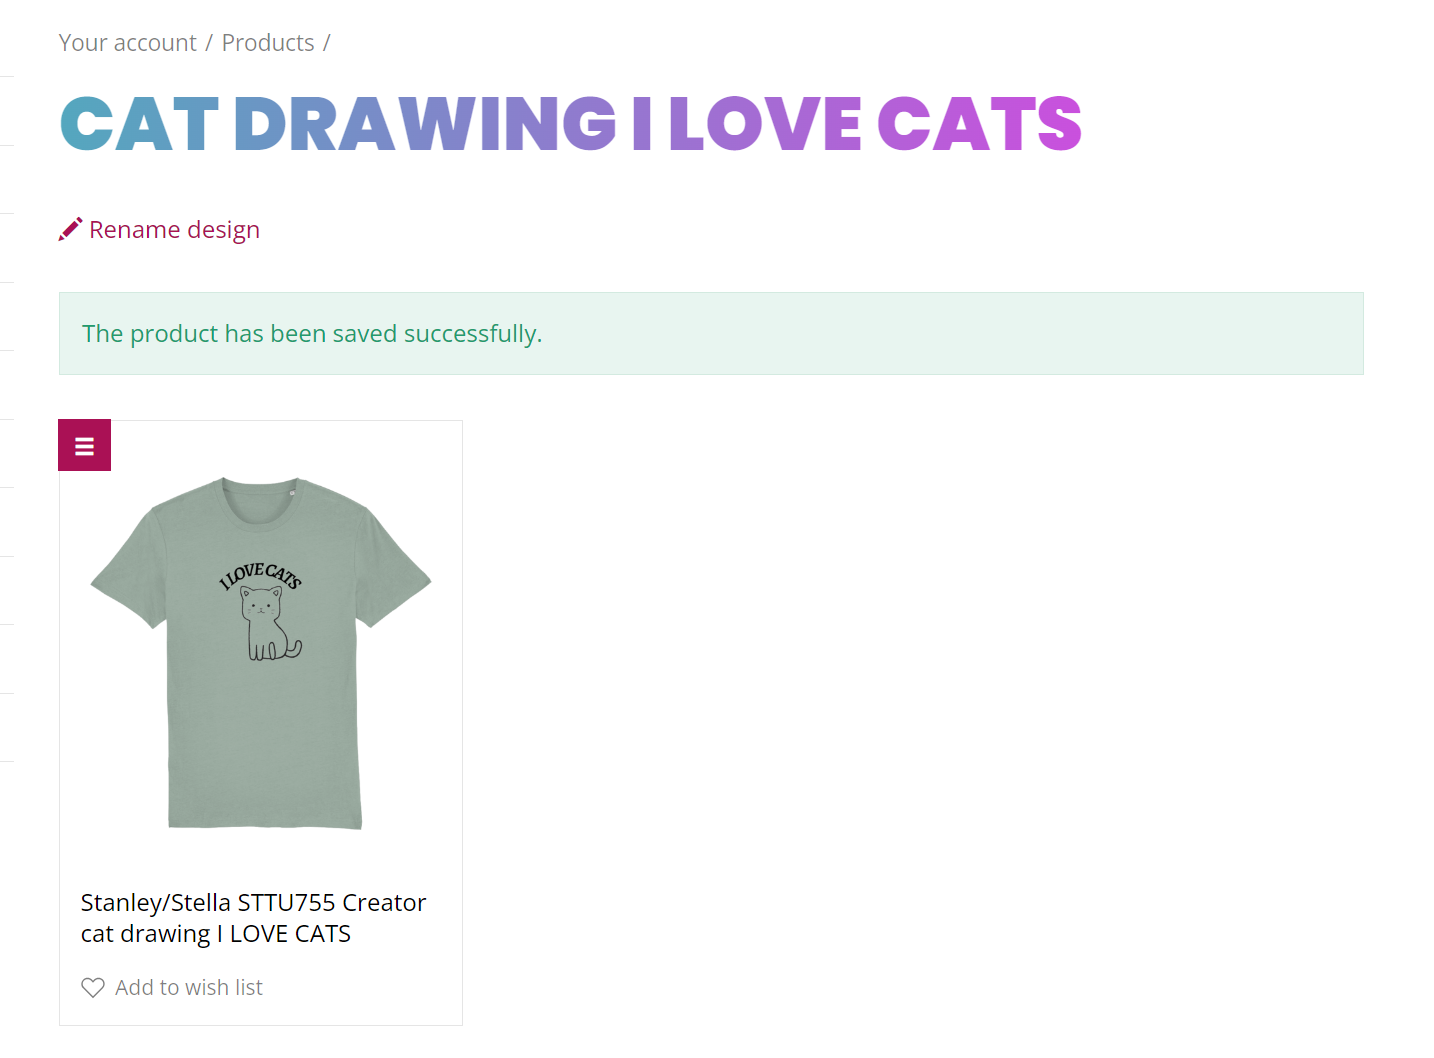
Click Create Product and wait for the page to reload.
Step 3: Add Product Details
Fill in the following fields before exporting:
-
Title: Give your product a catchy, SEO-friendly name.
-
Description: This pulls basic material info by default; add your own creative "story" or design details here.
-
Brand & Label: Select your Brand Profile and the specific neck label you want printed.
-
Resale Price: Set the price your customers will pay on Etsy.
Step 4: Configure Variants (Colours & Sizes)
-
Under Product Options, select the specific colours and sizes you want to offer.
-
Click the checkbox for each variant to add it to the Variations for Export box.
-
Check that the pricing and details for each variation look correct.

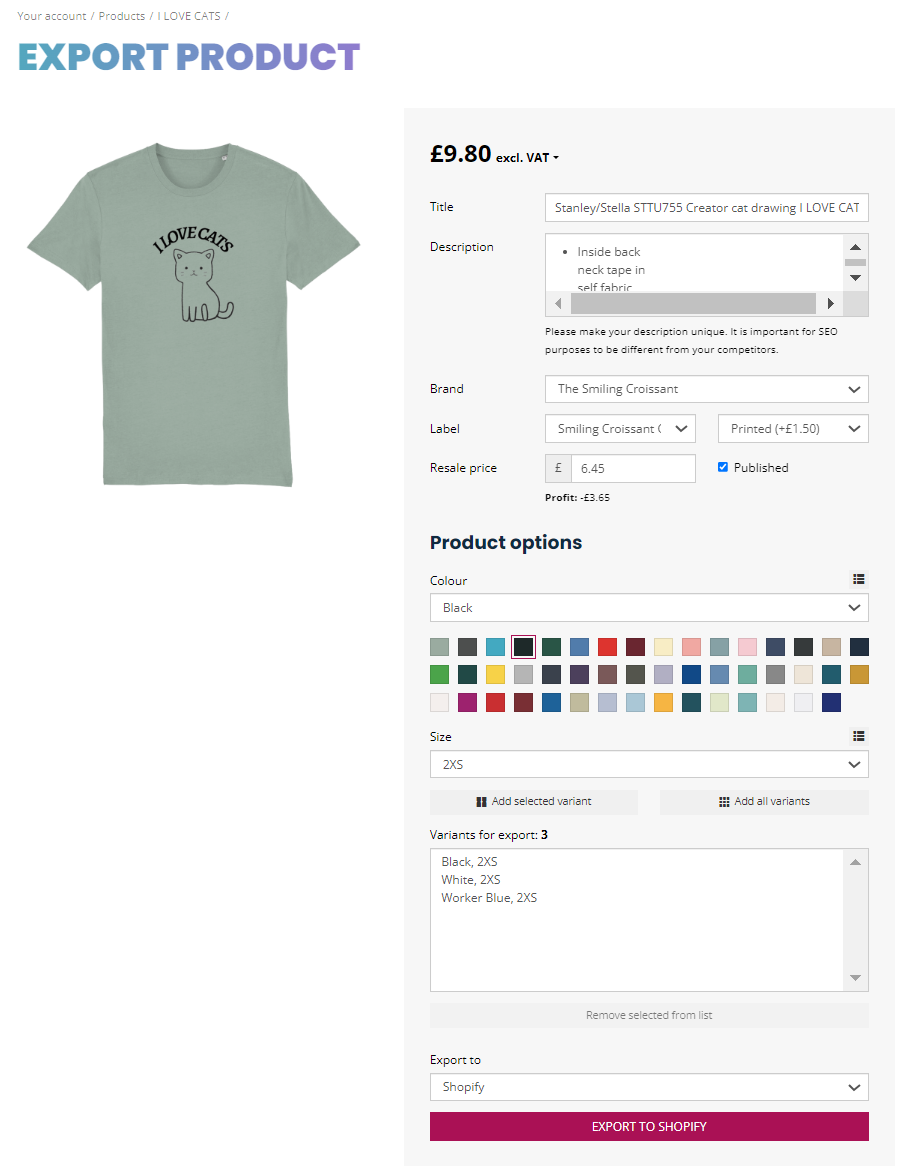
Step 5: Export to Etsy
-
Ensure the Published checkbox is ticked if you want the listing to go live immediately (otherwise, it will save as a draft).
-
Click Export to Etsy.
-
Once the process finishes, the button will change to View on Etsy. Click it to see your live listing!

Pro-Tip: If you ever need to change a print file or update a price later, you can find these items under the Manage Products tab in the Live Ink app to keep everything synced.