Squarespace: Link Existing Squarespace Products
This step-by-step guide explains how to link your existing Squarespace product listings to the Live Ink fulfillment service. This ensures that when a customer buys a product already on your site, Live Ink knows exactly which garment and design to use.
Pre-Setup Tip
If you want to use custom inside neck labels, make sure you have set these up in your Brand Profile first. This allows you to select them from a dropdown menu during the linking process.
Step 1: Access the Live Ink App
-
Log in to your Squarespace Admin.
-
Scroll down the left-hand menu and click on the Apps button (jigsaw piece icon).
-
Select Live Ink from your list of installed apps.
-
Sign in to your Live Ink account when prompted.
-
Note: Your Squarespace and Live Ink login details are separate for security.
-
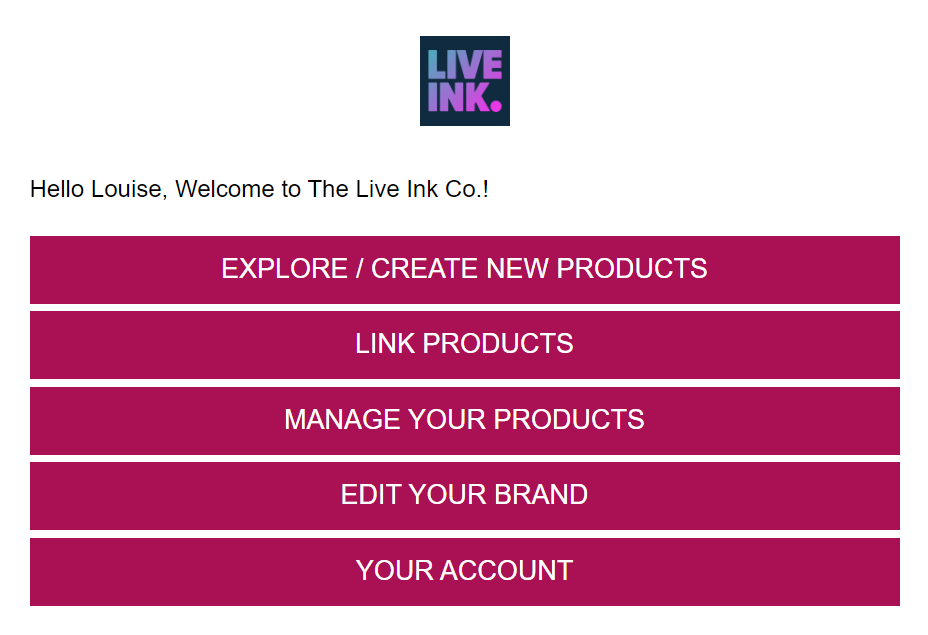
Step 2: Enter the Linking Interface
-
On the Live Ink welcome dashboard, click the "Link Products" button.
-
You will see a list of all products currently live on your Squarespace site.
-
Find the product you wish to fulfill through Live Ink and click the "Edit" button next to it.
Step 3: Assign the Base Live Ink Product
-
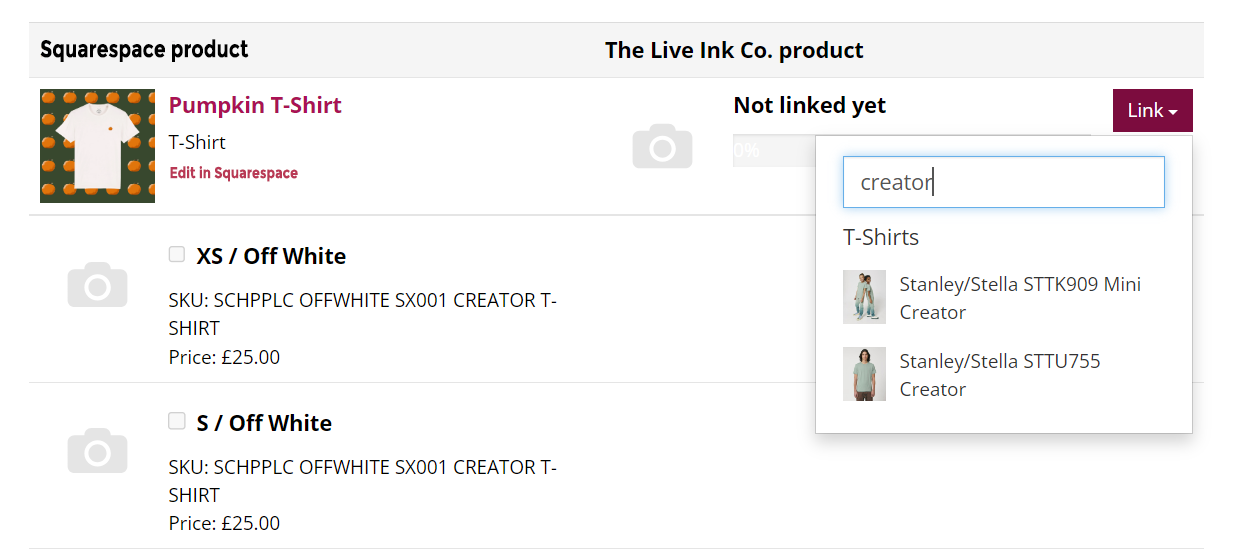
On the product page, click the "Link" button at the top.
-
Select the corresponding garment from the Live Ink product dropdown menu (e.g., "Stanley Stella Creator T-Shirt").
-
This step tells Live Ink which "blank" item to use for this specific Squarespace listing.
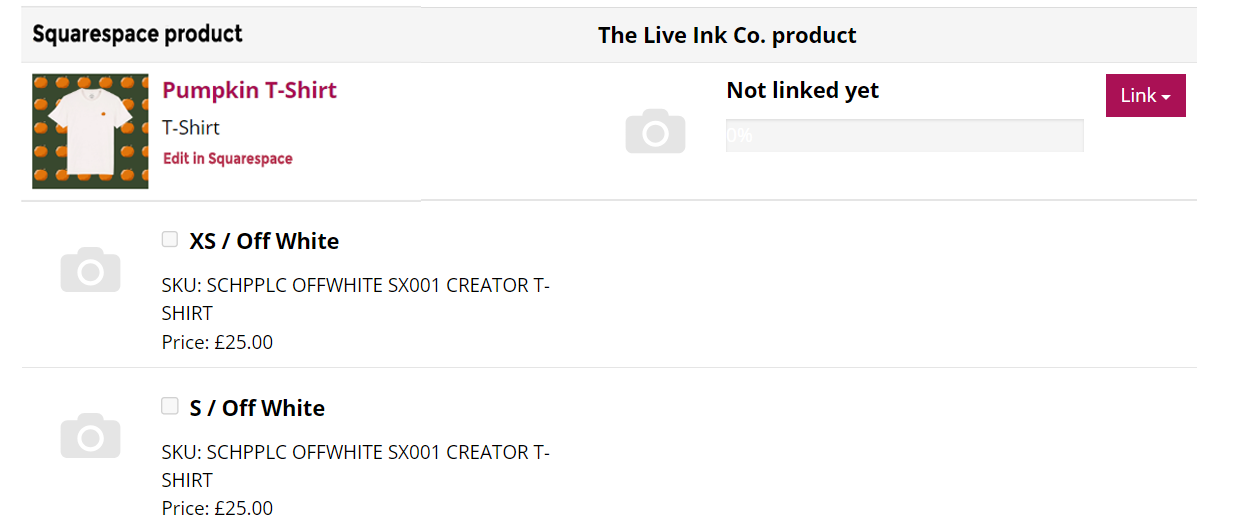
Step 4: Map Your Variants (Size & Color)
Each variation on Squarespace must be manually matched to a Live Ink variation.
-
Scroll down to the Variants section.
-
Check the box next to a variant (e.g., "Small / Black").
-
Correct the Auto-Populated Data: The app may try to guess the size and color, but these are often incorrect. Use the dropdown menus in the "Live Ink Product" column to select the exact match.
-
Example: If your Squarespace variant is "Large / Navy," ensure the Live Ink dropdowns are set to "Large" and "French Navy."
-
-
Repeat this for every variant you want Live Ink to fulfill.

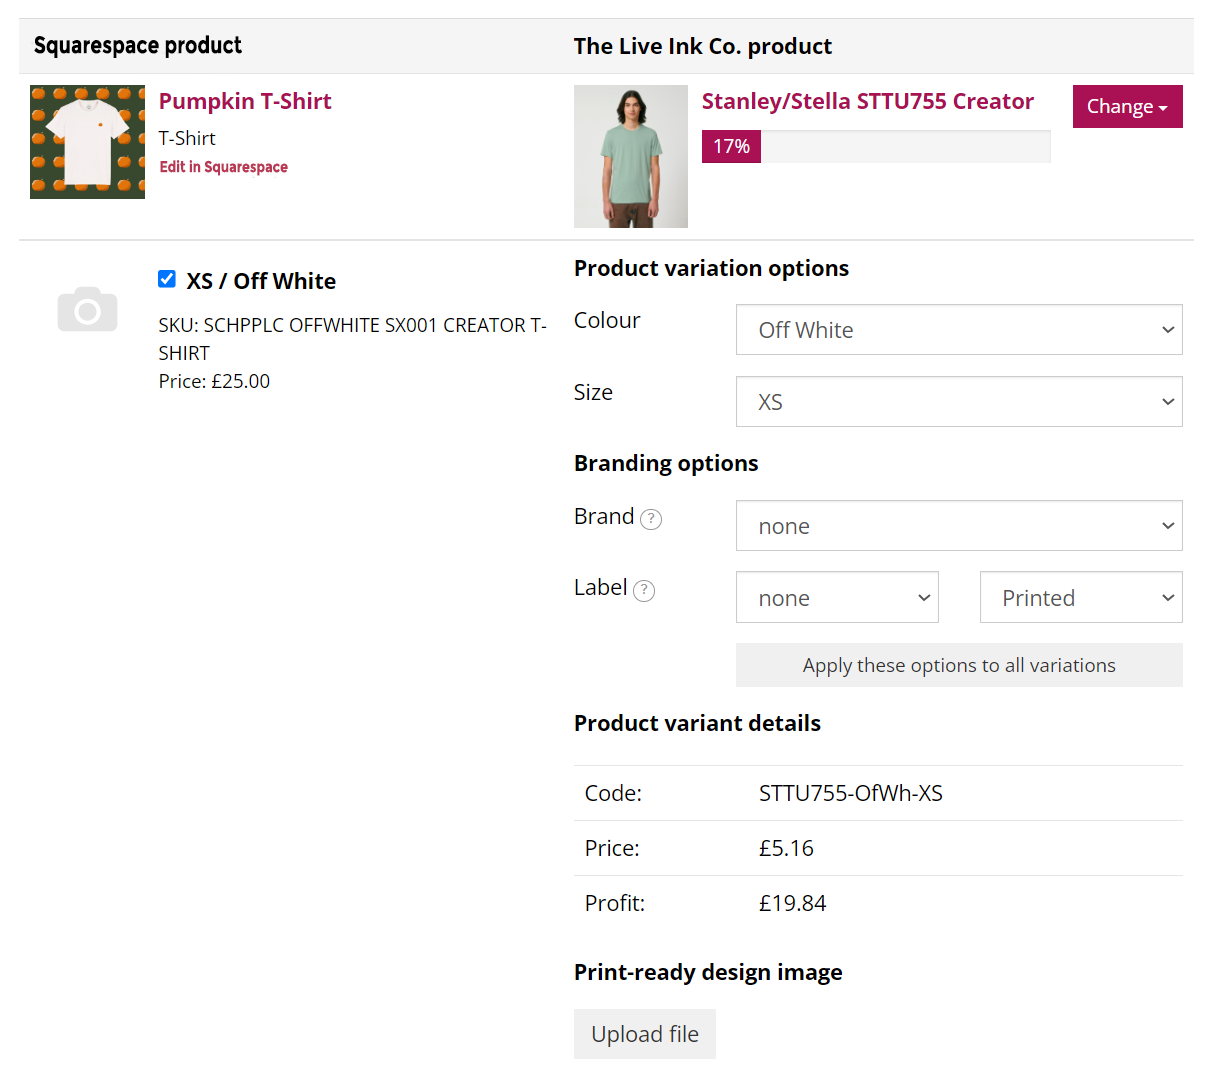
Step 5: Add Labels and Artwork (Optional per Variant)
Inside the variant row, you have additional custom options:
-
Brand/Label: If you have a brand profile, select your brand and the specific neck label you want printed for that garment.
-
Individual Print Files: If certain variants (like a white shirt vs. a black shirt) require different colored artwork, you can upload specific files here.
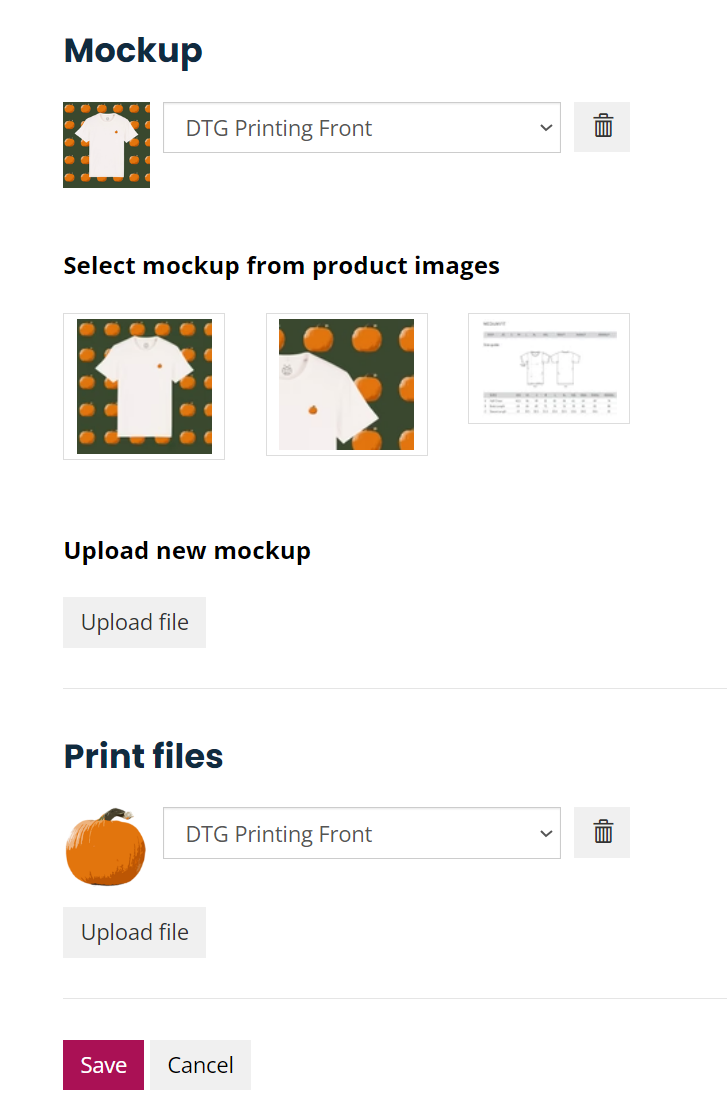
Step 6: Upload Final Assets for Quality Control
- Scroll to the bottom of the page to provide the global assets for this product:
- Product Mock: Upload a mockup image of the finished product. This is used by the Live Ink team for quality control to ensure the print placement matches your vision.
- Print File: Upload your high-resolution artwork (300dpi, ideally using the Live Ink template).
- Note: If you already assigned individual print files to every variant in Step 5, you do not need to upload a global one here.

Step 7: Save and Verify
-
Click "Save" at the bottom of the page.
-
You will be redirected to your list of linked products.
-
Check the Progress Bar: Look for the green bar next to the product. If it is not at 100%, click "Edit" again to see which variants were missed.
Important Reminders
-
Accuracy: Be extremely careful when mapping variants. If you map a "Small" Squarespace variant to a "Large" Live Ink product, the customer will receive the wrong size.
-
Stock Levels: For print-on-demand items, it is recommended to set your Squarespace stock levels to "Unlimited" so you never miss a sale.
-
Artwork Quality: Ensure all uploaded artwork is 300dpi at the actual print size you want on the garment.