Shopify: Create and sync new products
This step-by-step guide explains how to create new products within the Live Ink app and sync them directly to your Shopify store for fulfillment.
Pre-Setup Tip
If you plan to use custom inside neck labels, ensure you have set these up in your Brand Profile first. This allows you to select them during the creation process.
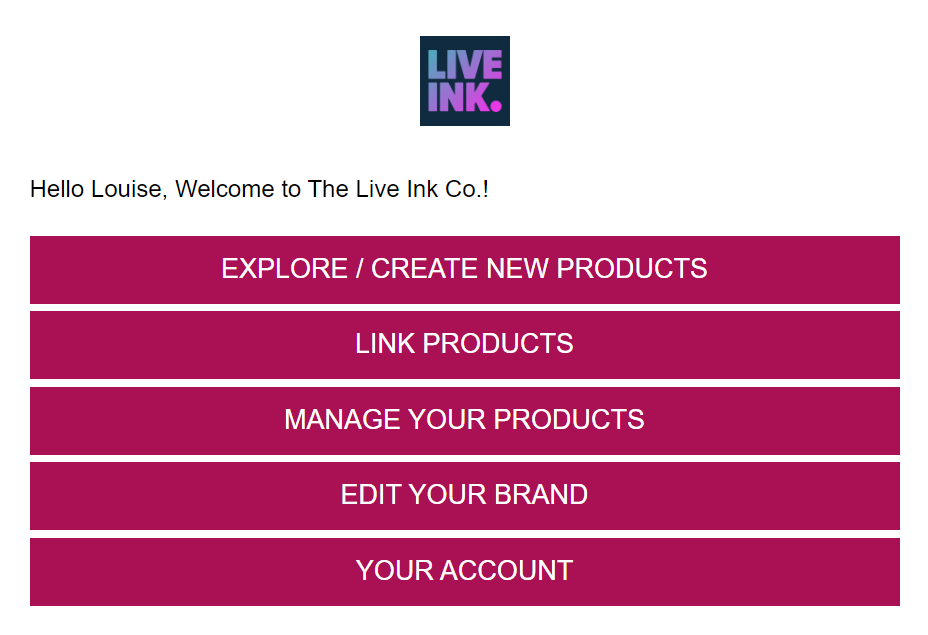
Step 1: Access the Live Ink App
-
Log in to your Shopify Admin.
-
Go to Apps in the left-hand menu.
-
Select the Live Ink app from your list.
-
Sign in to your Live Ink account when prompted.
-
Note: Your Shopify and Live Ink login details are separate for security purposes.
-
Step 2: Select Your Base Product
-
From the Live Ink home page, click the garments button.
-
This will load the product catalog. If you are new to the platform, browse the CORE category for popular retail-quality options.
-
Click on the garment you wish to use (e.g., "Stanley Stella Creator 2.0").
Uploading your design
Once you select a product, it’s template page will be loaded with all the options needed to create a product.

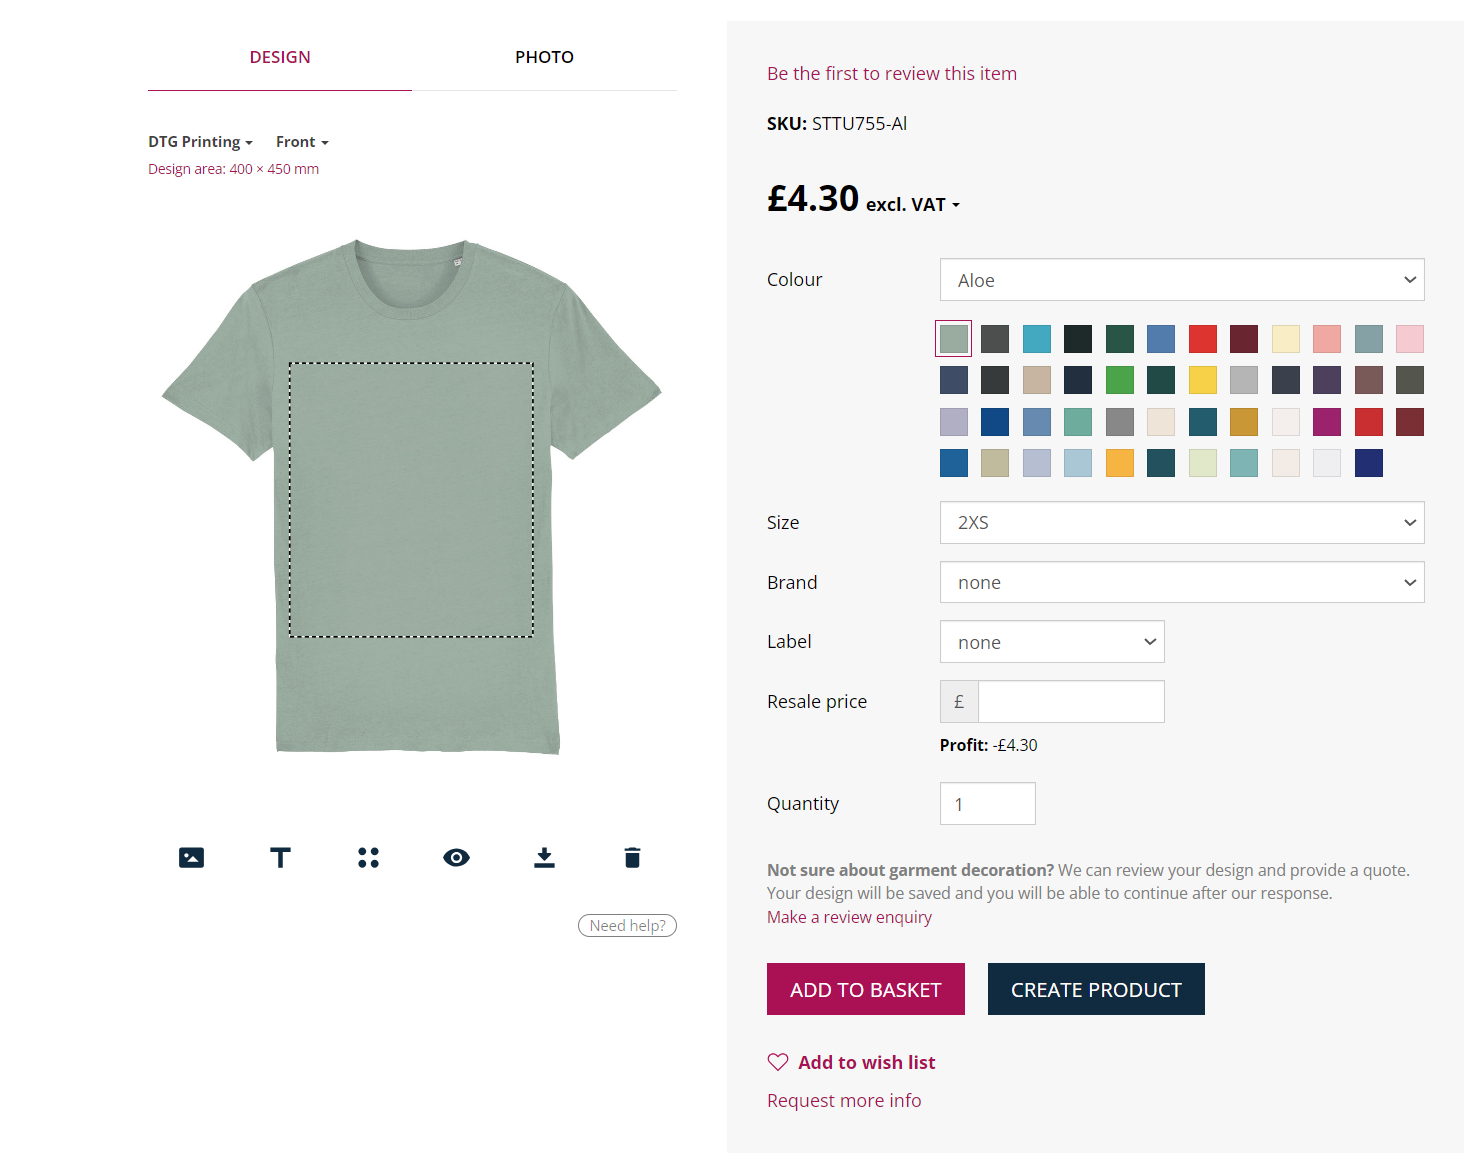
Step 3: Upload and Position Your Design
The product template page features a mockup and six icons on the left-hand side:
-
Upload: Click the first icon (top left) to upload your high-resolution print file (300dpi, png file).
-
Position: Once uploaded, drag and drop the image onto the garment.
-
Refine: Use the control panel below the mockup to resize, rotate, or delete the image until you are satisfied.
-
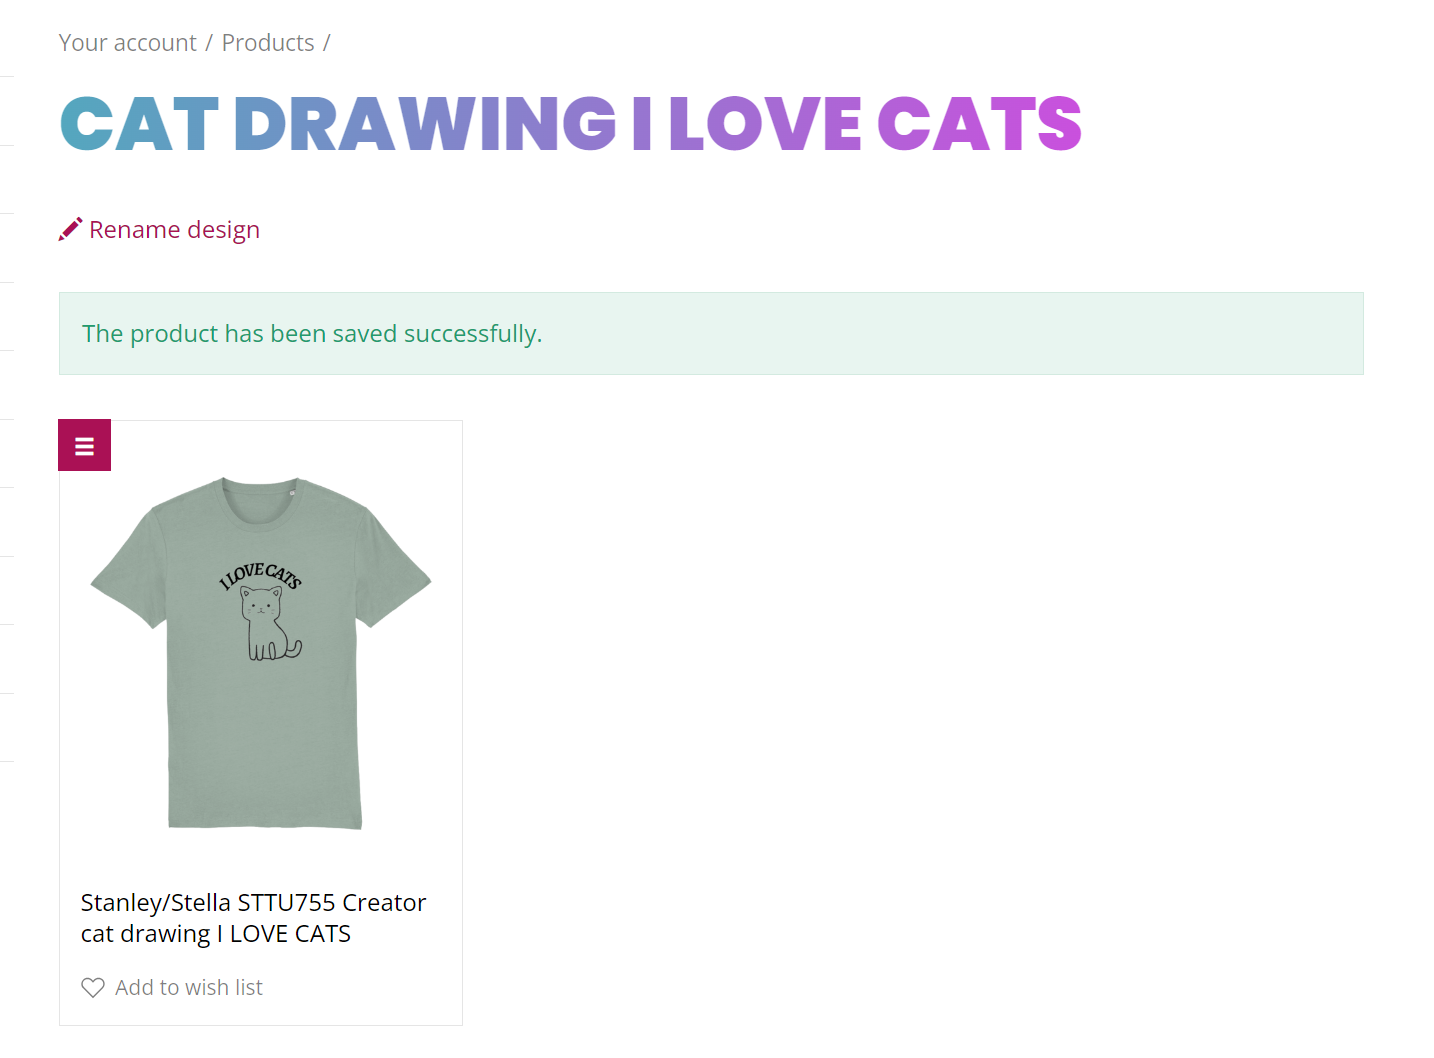
Finalize Layout: Click the "Create Product" button and wait for the page to reload with your saved design.
To export items your Shopify store: click the export icon (with the arrow pointing to the right).

Step 4: Configure Product Information
Before syncing to Shopify, fill out the following details:
-
Title: Enter the name your customers will see. By default, it combines the garment and design names.
-
Description: This field is pre-populated with garment specs (material, weight). You can add your own marketing copy here.
-
Brand: Select which brand profile to assign to this product.
-
Label: If the garment supports it, select the neck label you want printed.
-
Resale Price: Set the price you want to charge customers on your store.
-
Published: Check this box if you want the product to be visible on your store immediately after sync.

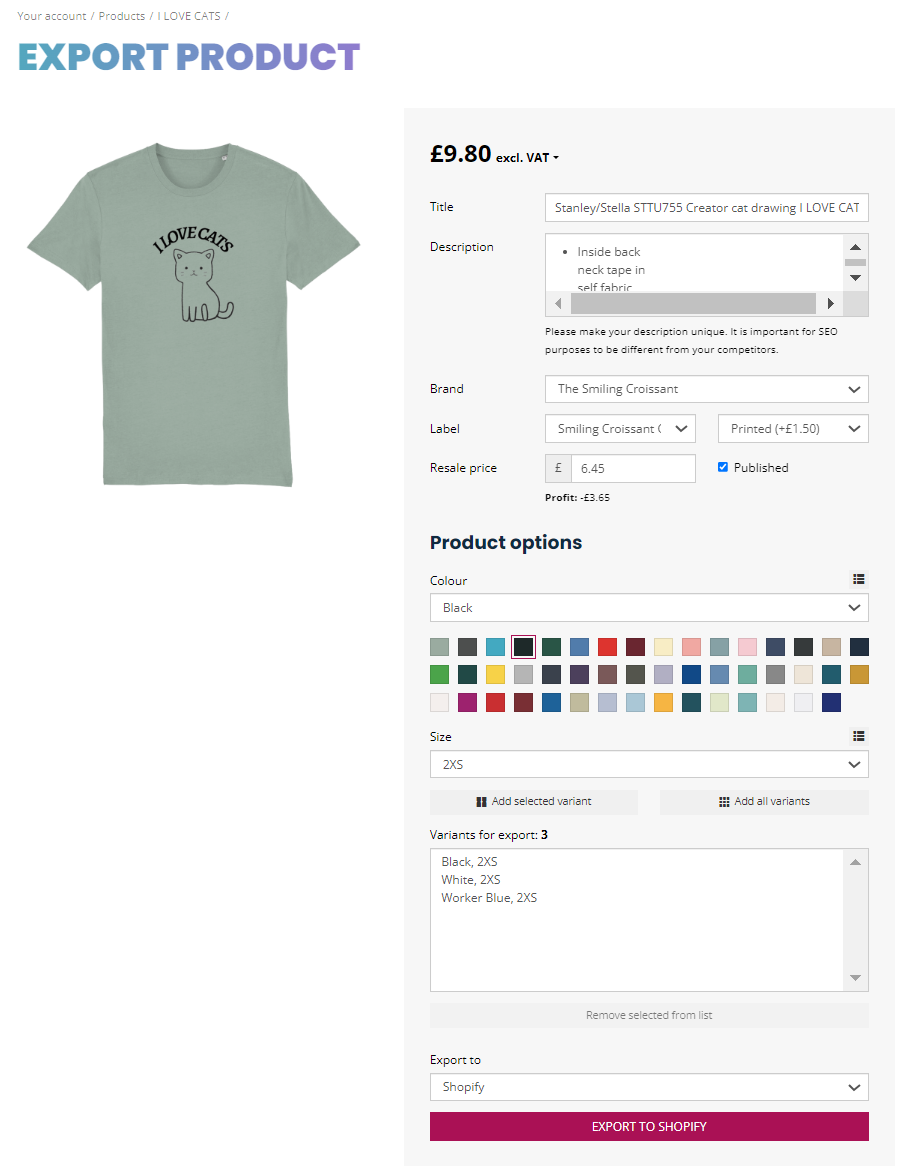
Step 5: Select Variants (Colors & Sizes)
-
Scroll down to the Product Options section.
-
Select the specific colors and sizes you want to offer.
-
All selected options will appear in the "Variations for Export" box. You can continue adding or removing variants until the collection is complete.
Step 6: Export to Shopify
-
Review all product details and variants one final time.
-
Click the "Export to Shopify" button.
-
Once the process is finished, the button will change to "View on Shopify."
-
Click it to see your new product live on your storefront!
Important Reminders
-
Accuracy: Double-check your chosen variants before exporting, as these are the exact items Live Ink will fulfill when an order is placed.
-
Sync Time: It may take a minute for all high-resolution mockups to transfer to your Shopify media gallery.
-
Product Support: If the "Label" option is missing, it means that specific garment does not support inside neck printing.